Compost harvest and vegetable bed prep
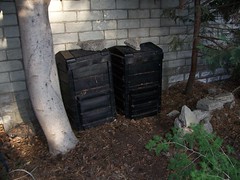
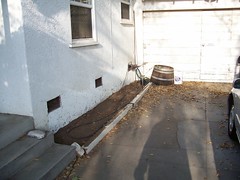
My gardening task for the day was to empty out Composter #2 for the first time and then use that compost to prep the small bed outside the kitchen. Most of the finished compost from Composter #1 went into this bed last season, but I wanted to add some more before turning the ground and trying some shade tolerant vegetables in this spot. We tried tomatoes here last season, but there just isn't enough sun for something like that. I mentioned some shade tolerant veggies in a previous post here.

Composter #2 has more compost than I thought. I had opened the bottom door to check in it a few weeks ago, but it looked like it was still cooking. I needed to make some space in it for more kitchen scraps, though, so I started digging some from the thin layer at the bottom. I quickly found that the compost in the middle was completely ready and was hidden by a small covering of uncomposted leaves and such. I ended up with about 4 -5 cubic feet for the new bed. Cool!
I sifted this compost and then spread it on the new bed and used our new electric cultivator to give it all a good turn. The bed looks good and ready for us to do some shopping for seeds and transplants.

Labels: backyard garden, compost, garden, Gardening Tips, plant, Seed, Vegetable, Vegetable garden

![Reblog this post [with Zemanta]](http://img.zemanta.com/reblog_e.png?x-id=a5198b02-7e26-4b16-8eec-4b7d6a457ed7)

![Reblog this post [with Zemanta]](http://img.zemanta.com/reblog_e.png?x-id=d6e0d15e-8a32-46b5-9dc8-57b14571ac43)


