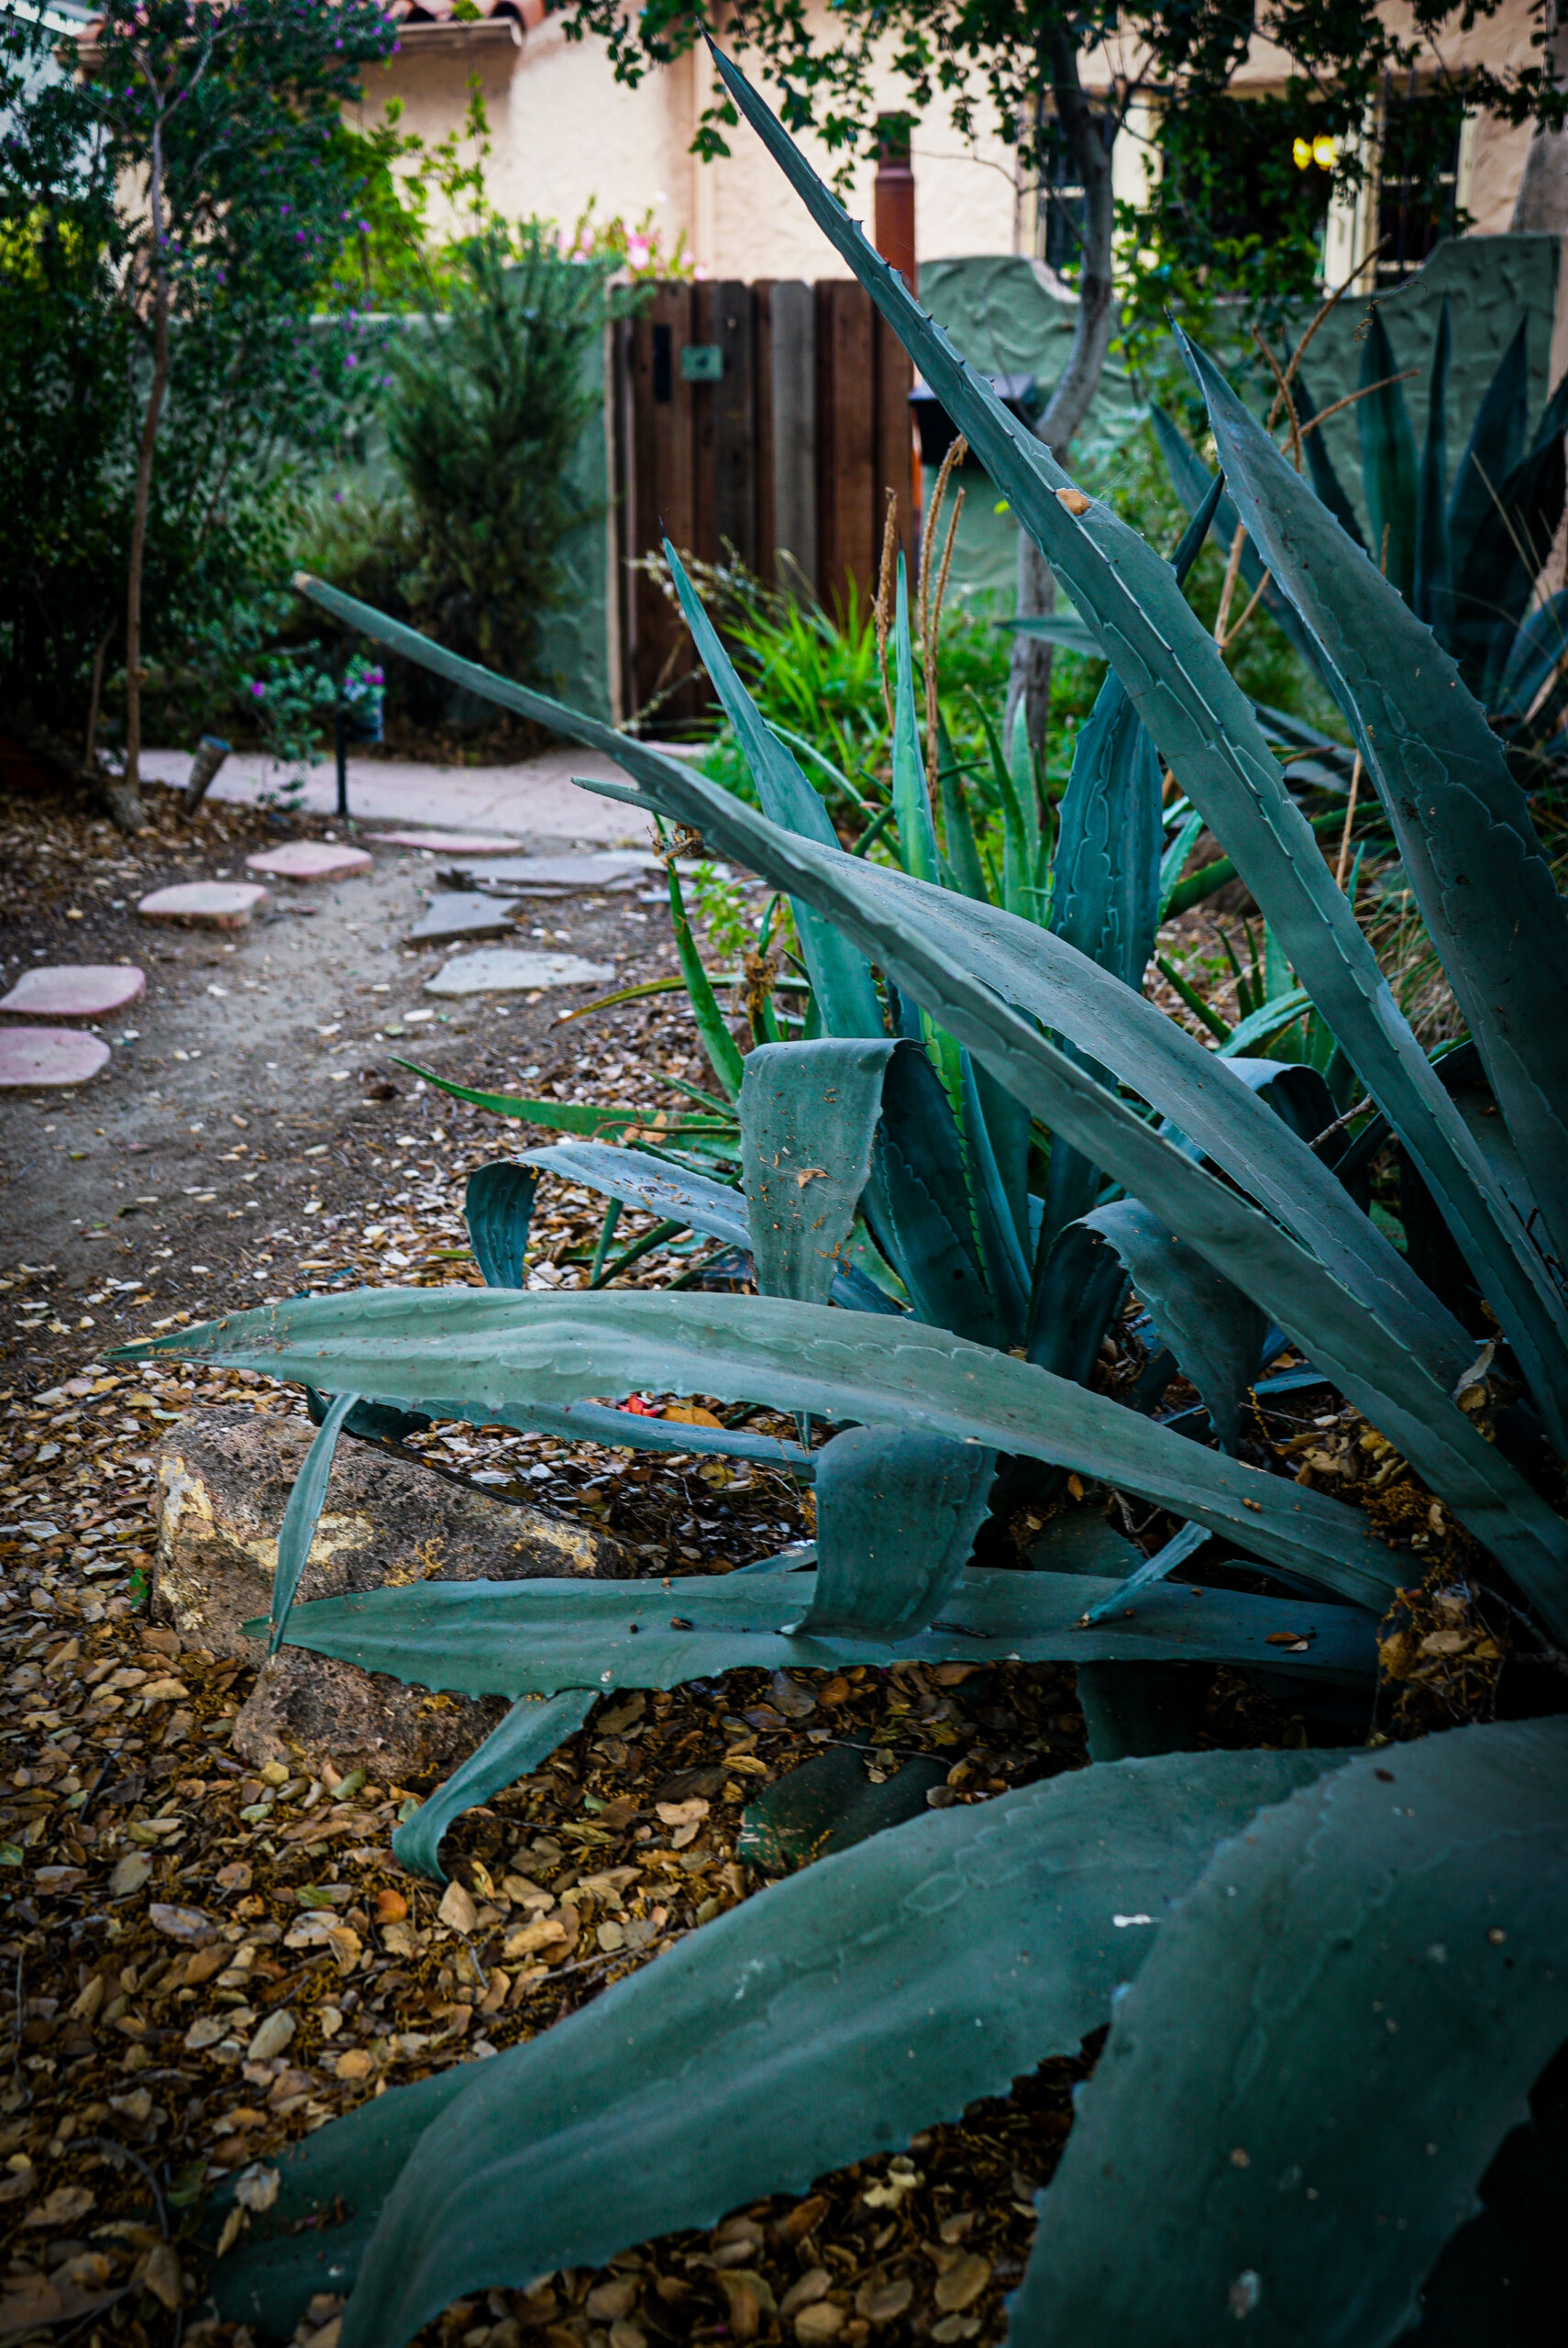
A Front Garden, Studio City, California [Photography]
Find more of my photos on Instagram | PixelFed More from my Instagram Feed Read more on this topic: Ivy on the Wall, Studio City, California [Photography] In the Neighbor’s Continue Reading
Come and join me in my garden!
Find more of my photos on Instagram | PixelFed More from my Instagram Feed Read more on this topic: Ivy on the Wall, Studio City, California [Photography] In the Neighbor’s Continue Reading
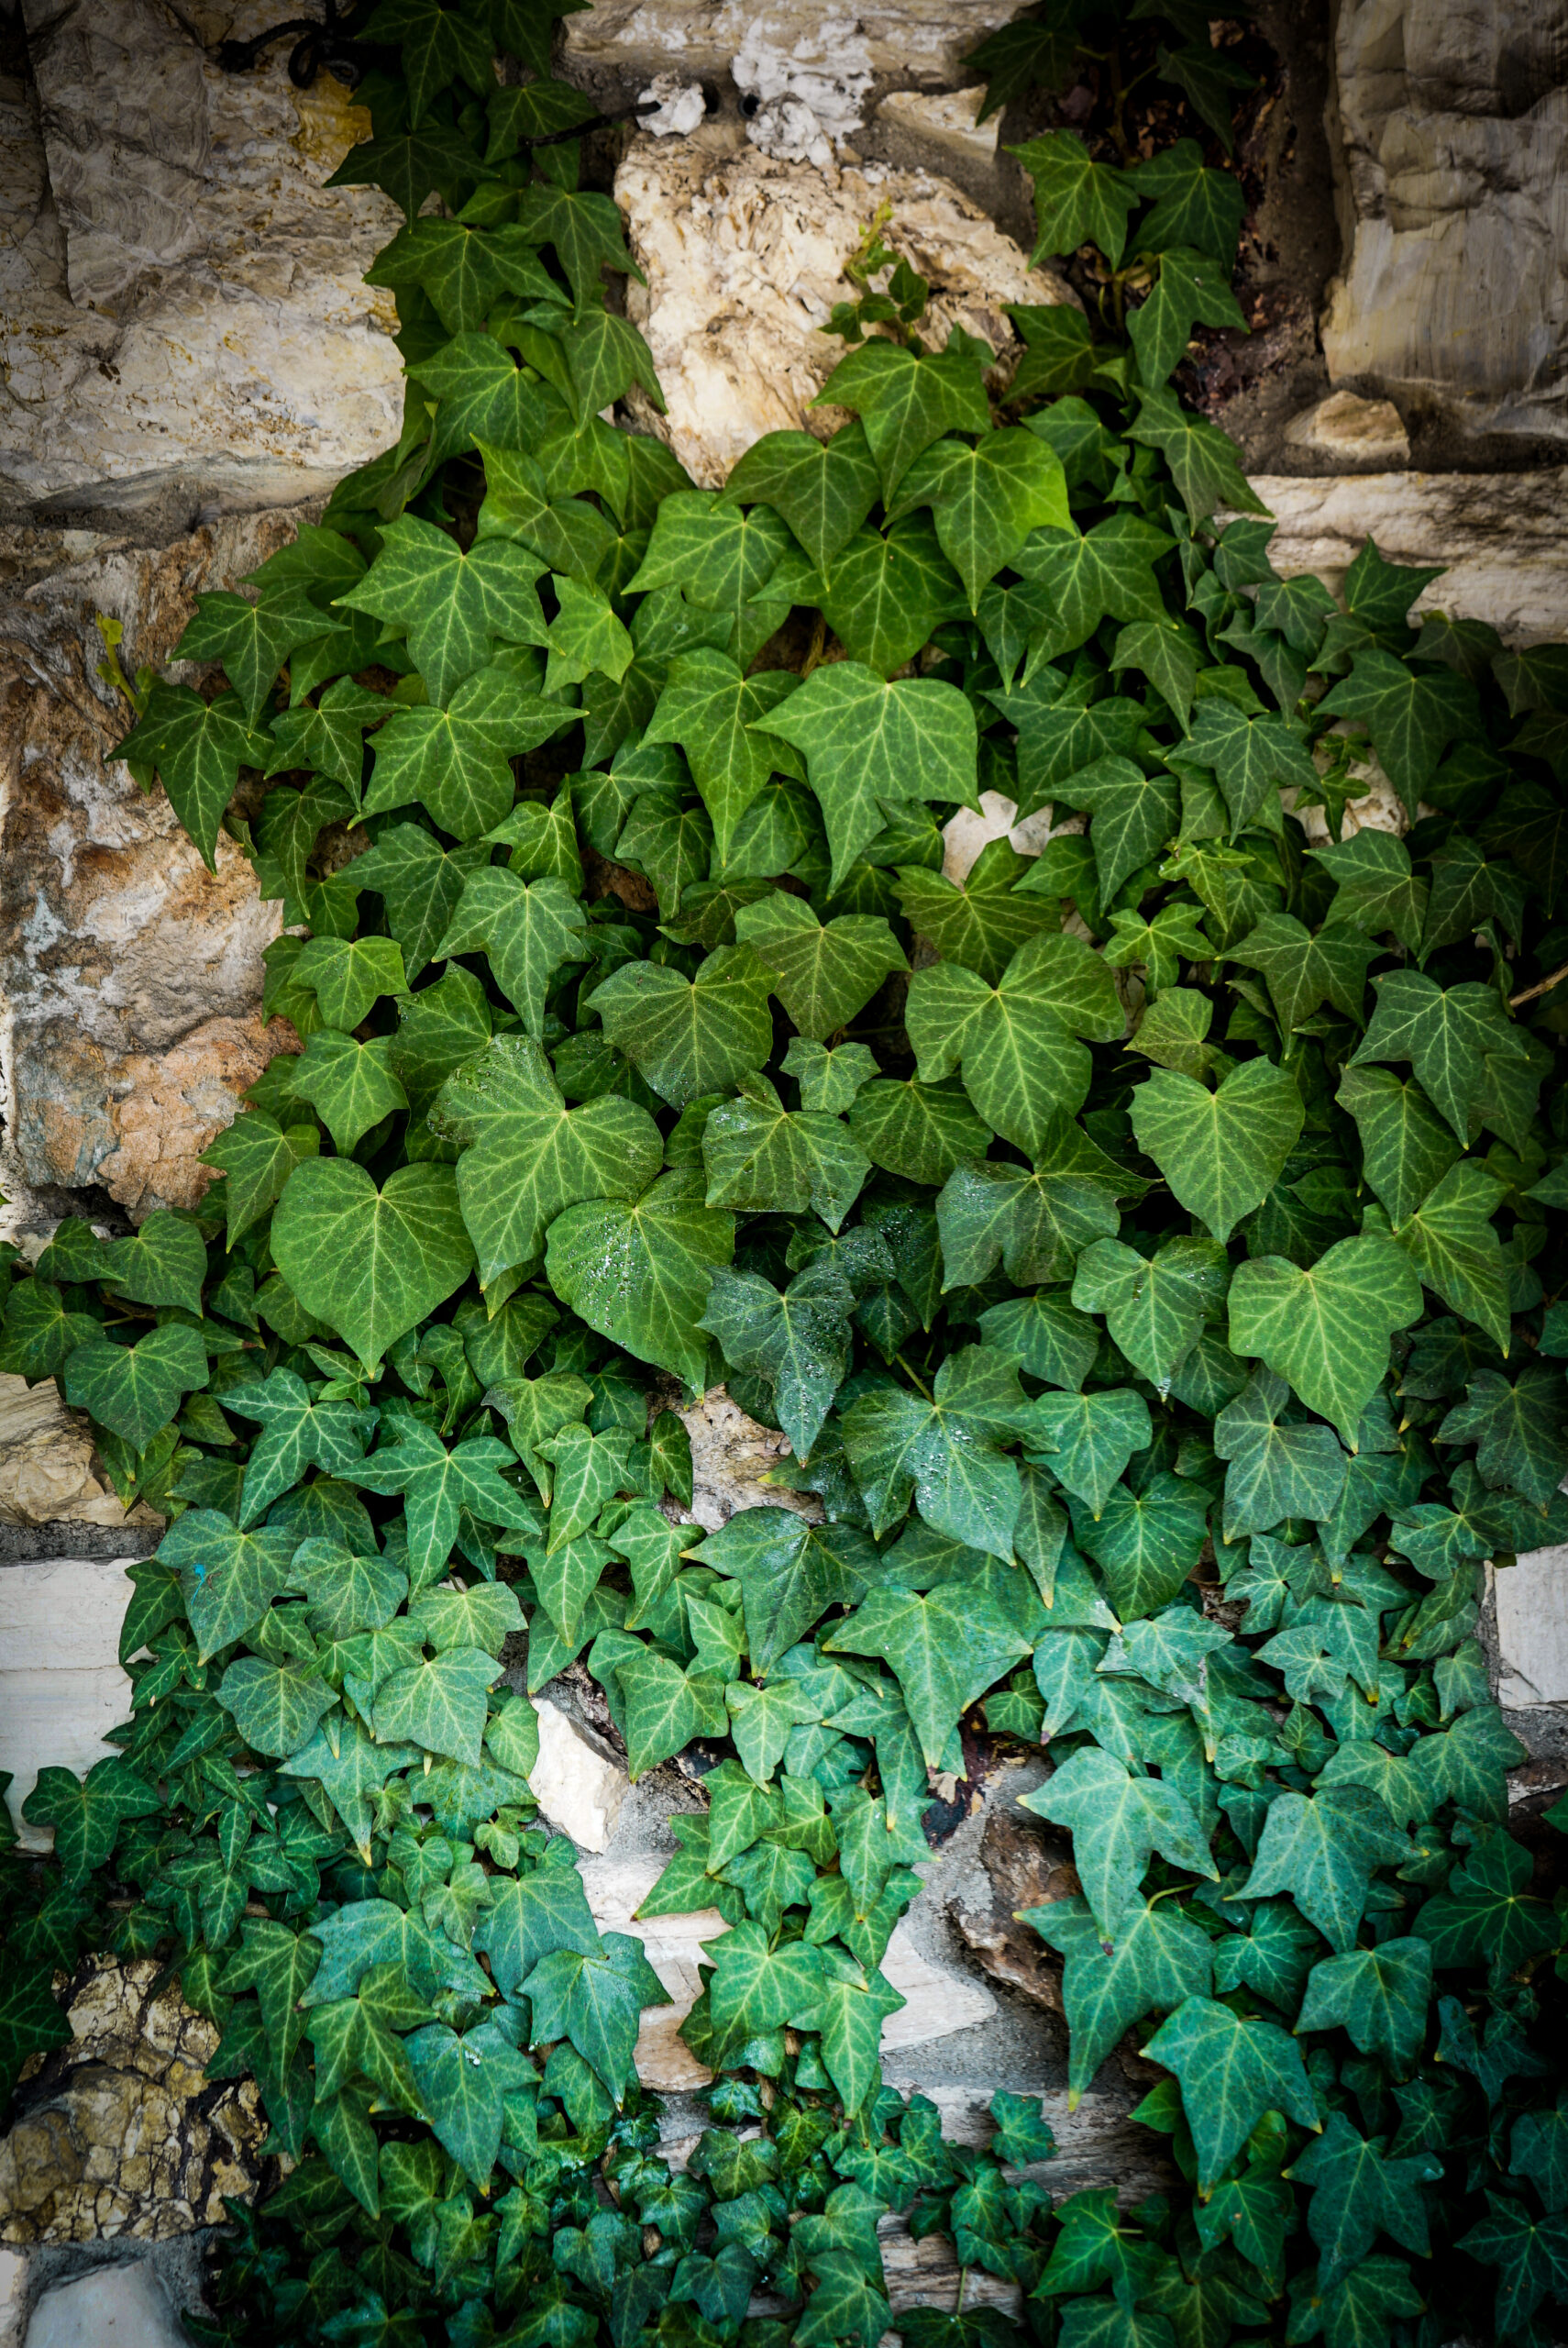
It is not a plant I would want in my garden, but it looked interesting on this wall. — Douglas Find more of my photos on Instagram | PixelFed More Continue Reading

Visiting friends who live just up the street and their garden at night was magical. Find more of my photos on Instagram | PixelFed More from my Instagram Feed Read Continue Reading
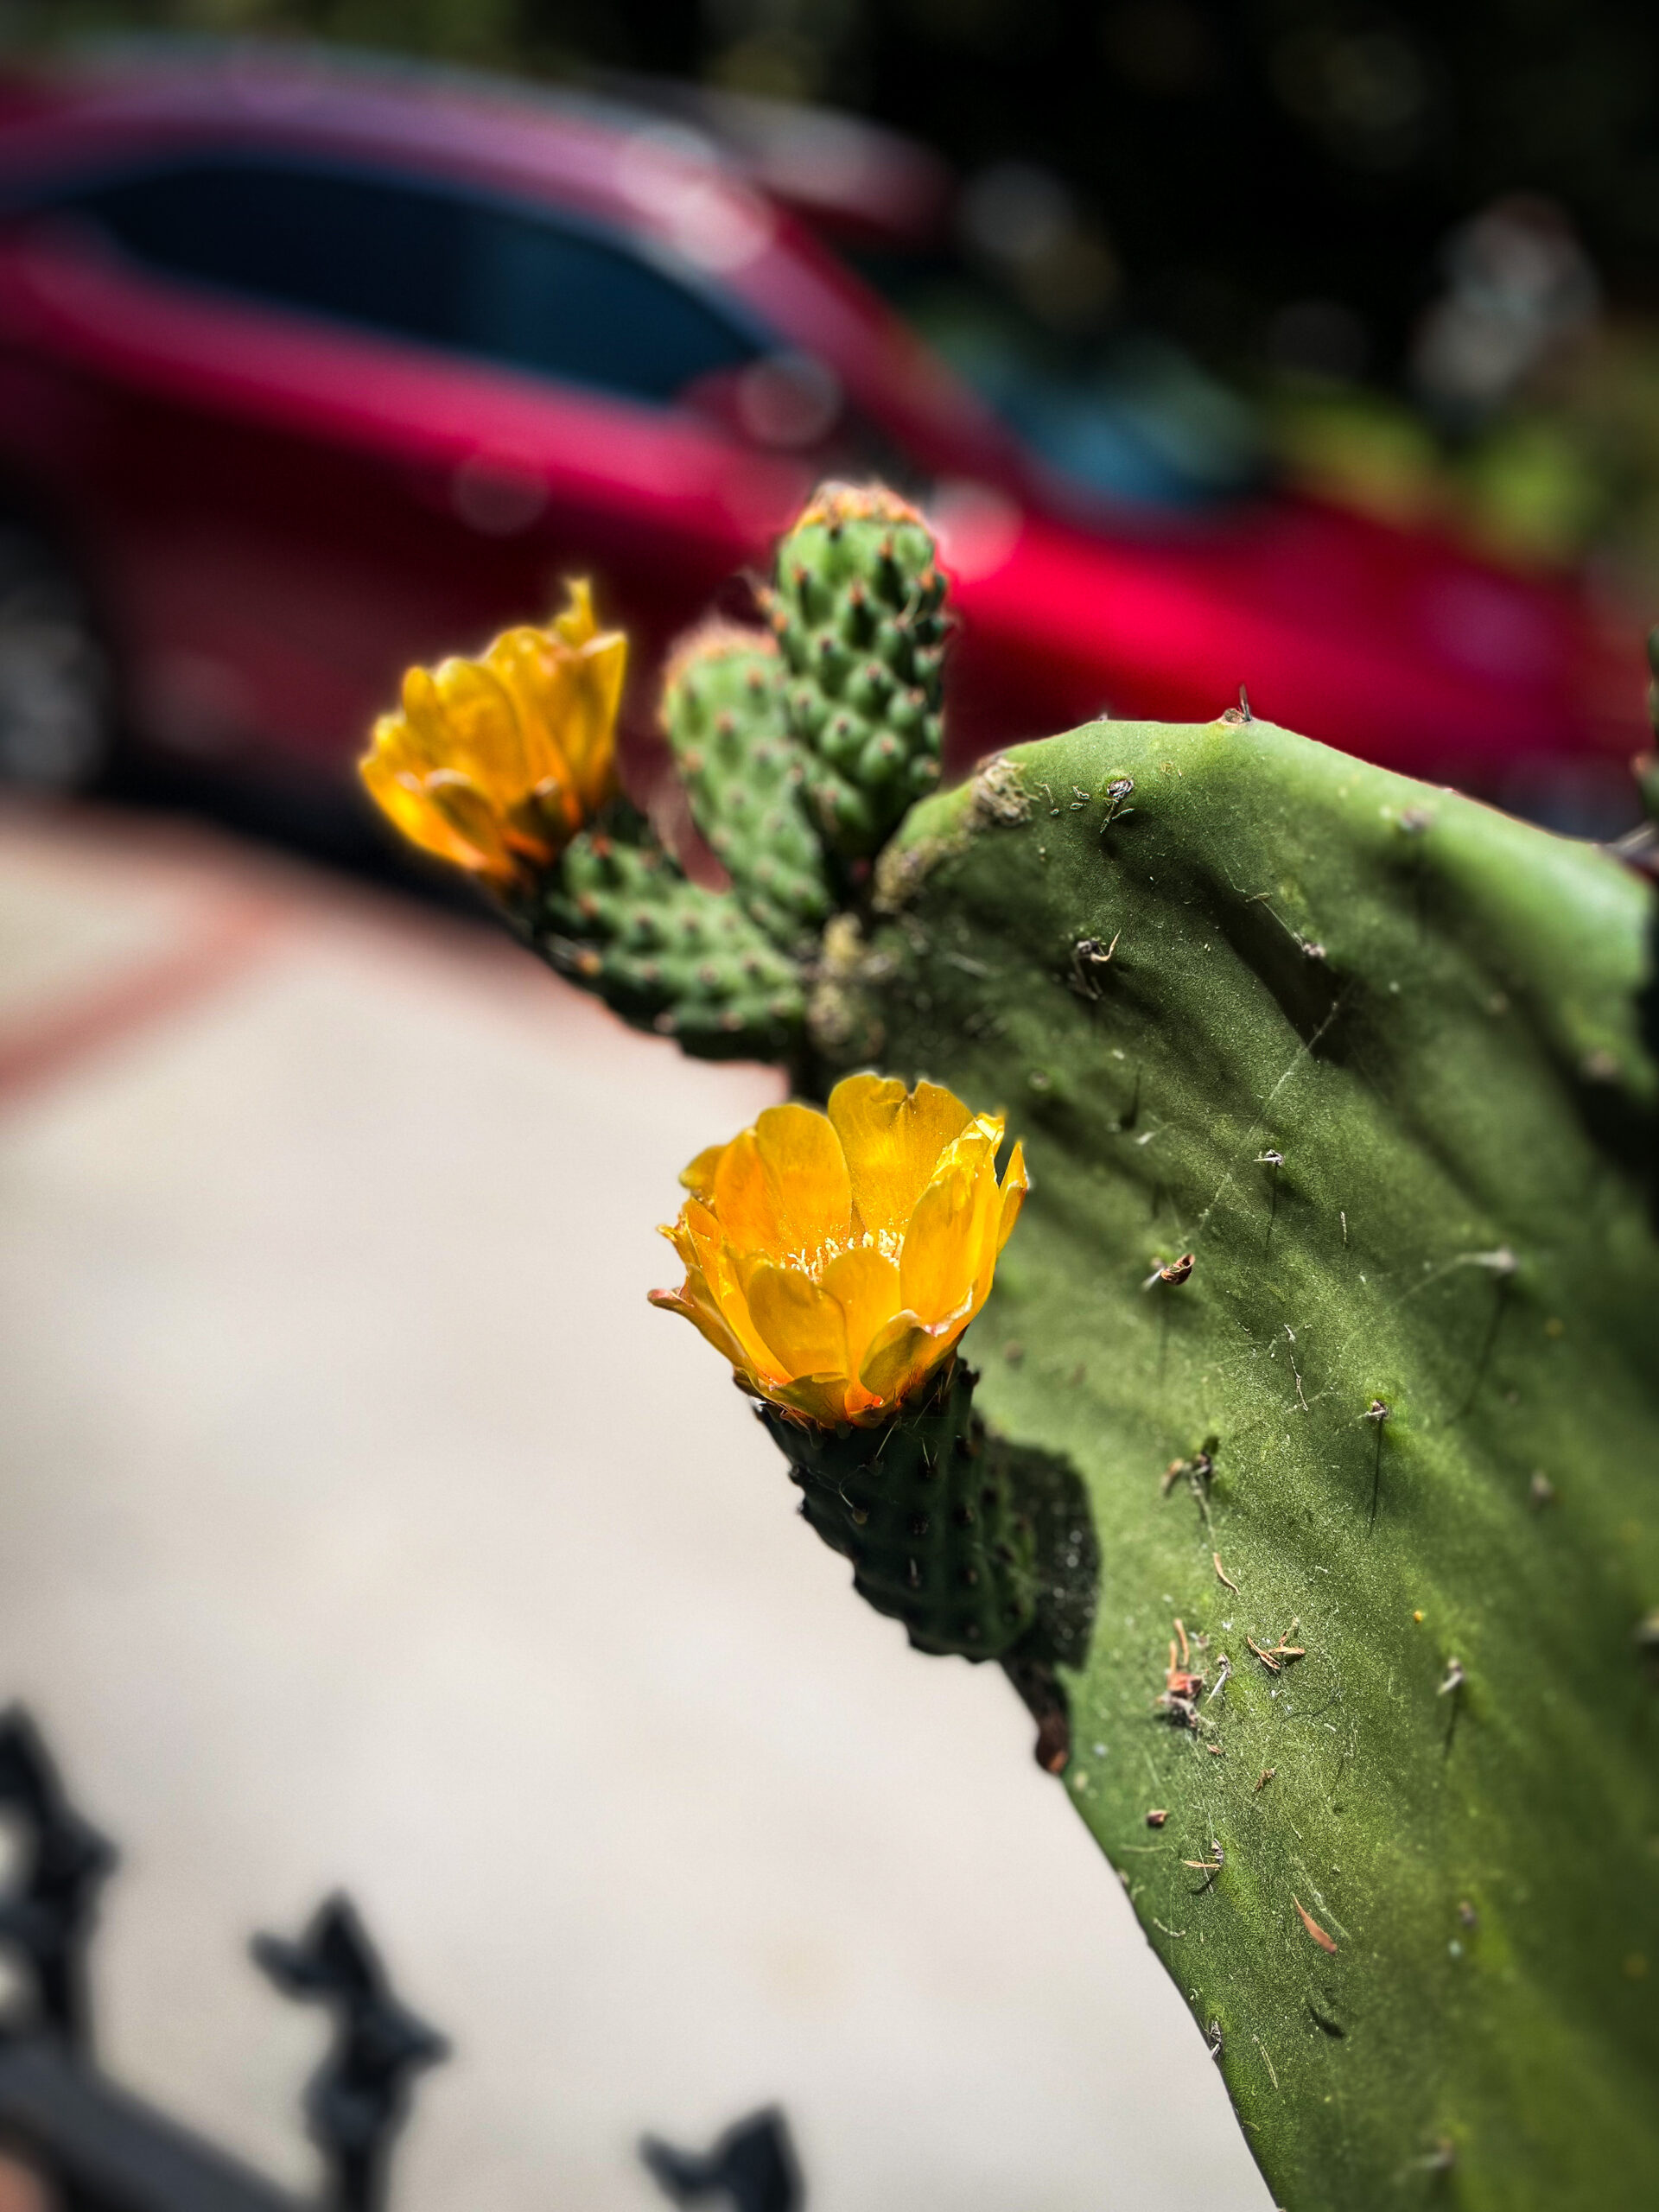
After 6 or more years, the prickly pear (Opuntia) paddles I gathered from a neighbor and planted throughout the garden are finally blooming. I have been hoping to see this Continue Reading
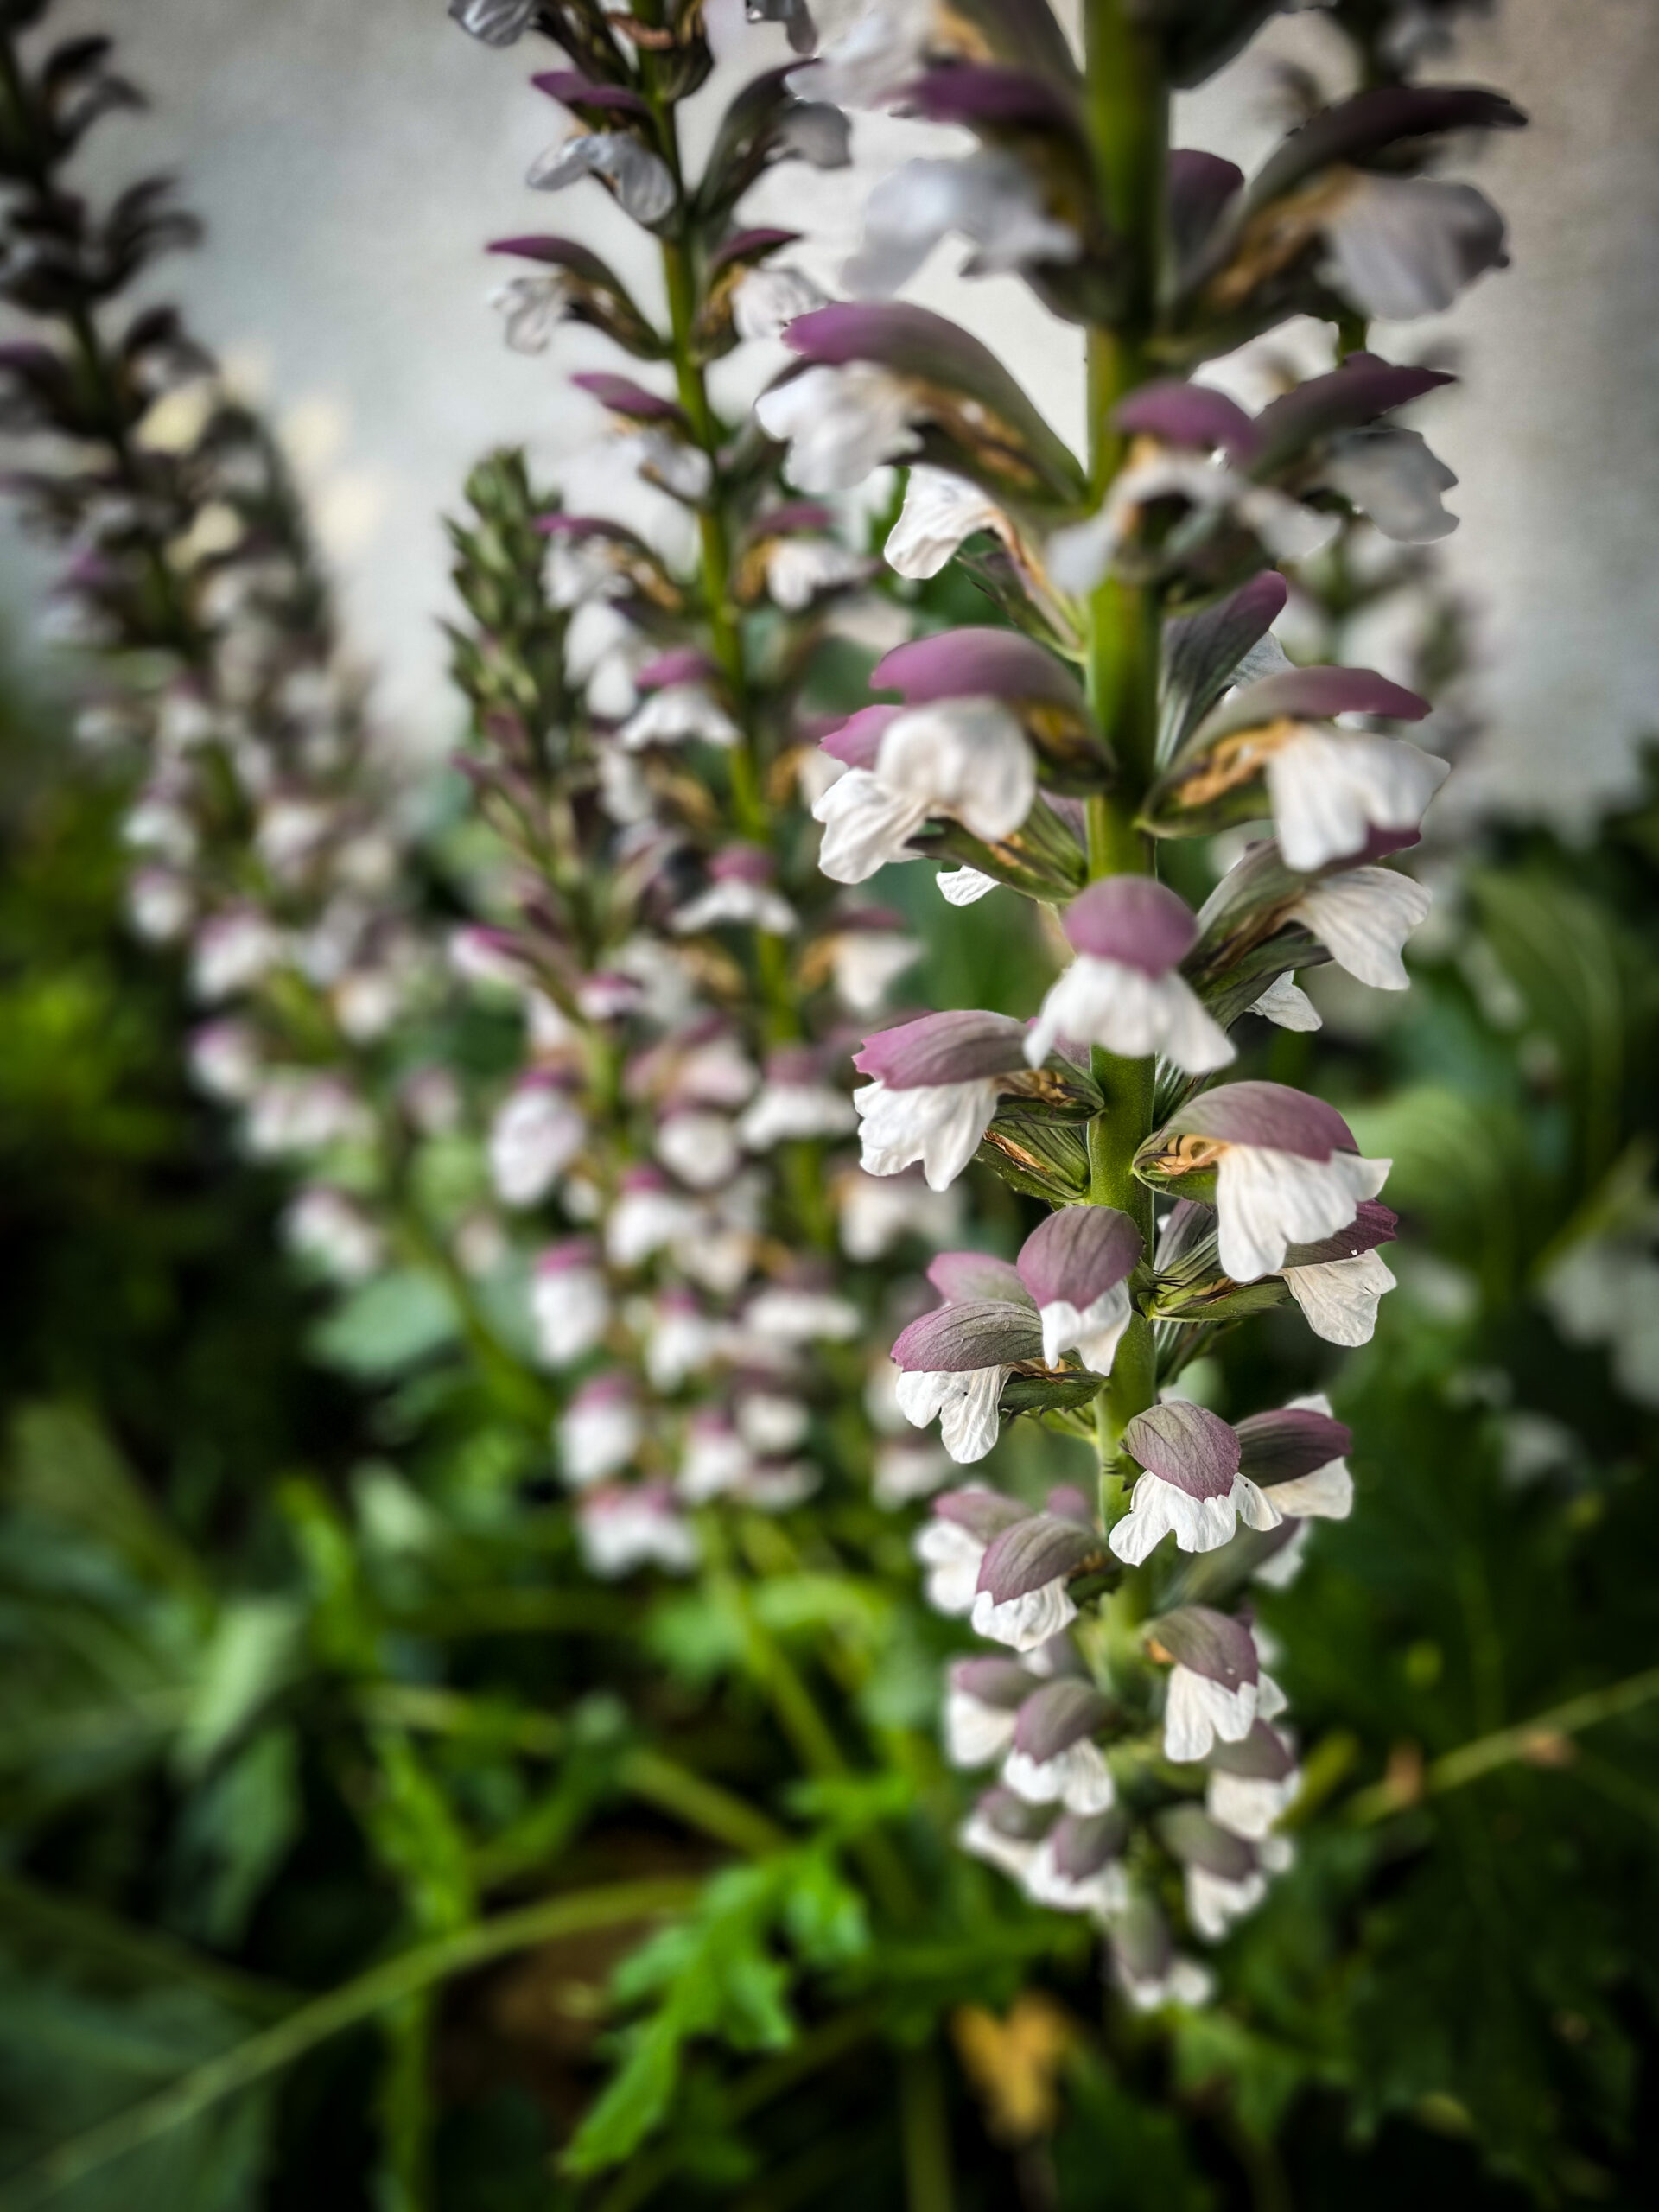
@douglaswelch Flowering Now: Acanthus #video #slomo #closeup #acanthus #flowers #floweringnow #garden #gardening #nature #outdoors #plants ♬ Great Fairy’s Fountain – Henriko Magnifico Decorate your home or office with prints Continue Reading
Decorate your home or office with prints of this photo and more! Find more of my photos on Instagram | PixelFed More from my Instagram Feed Read more on this Continue Reading
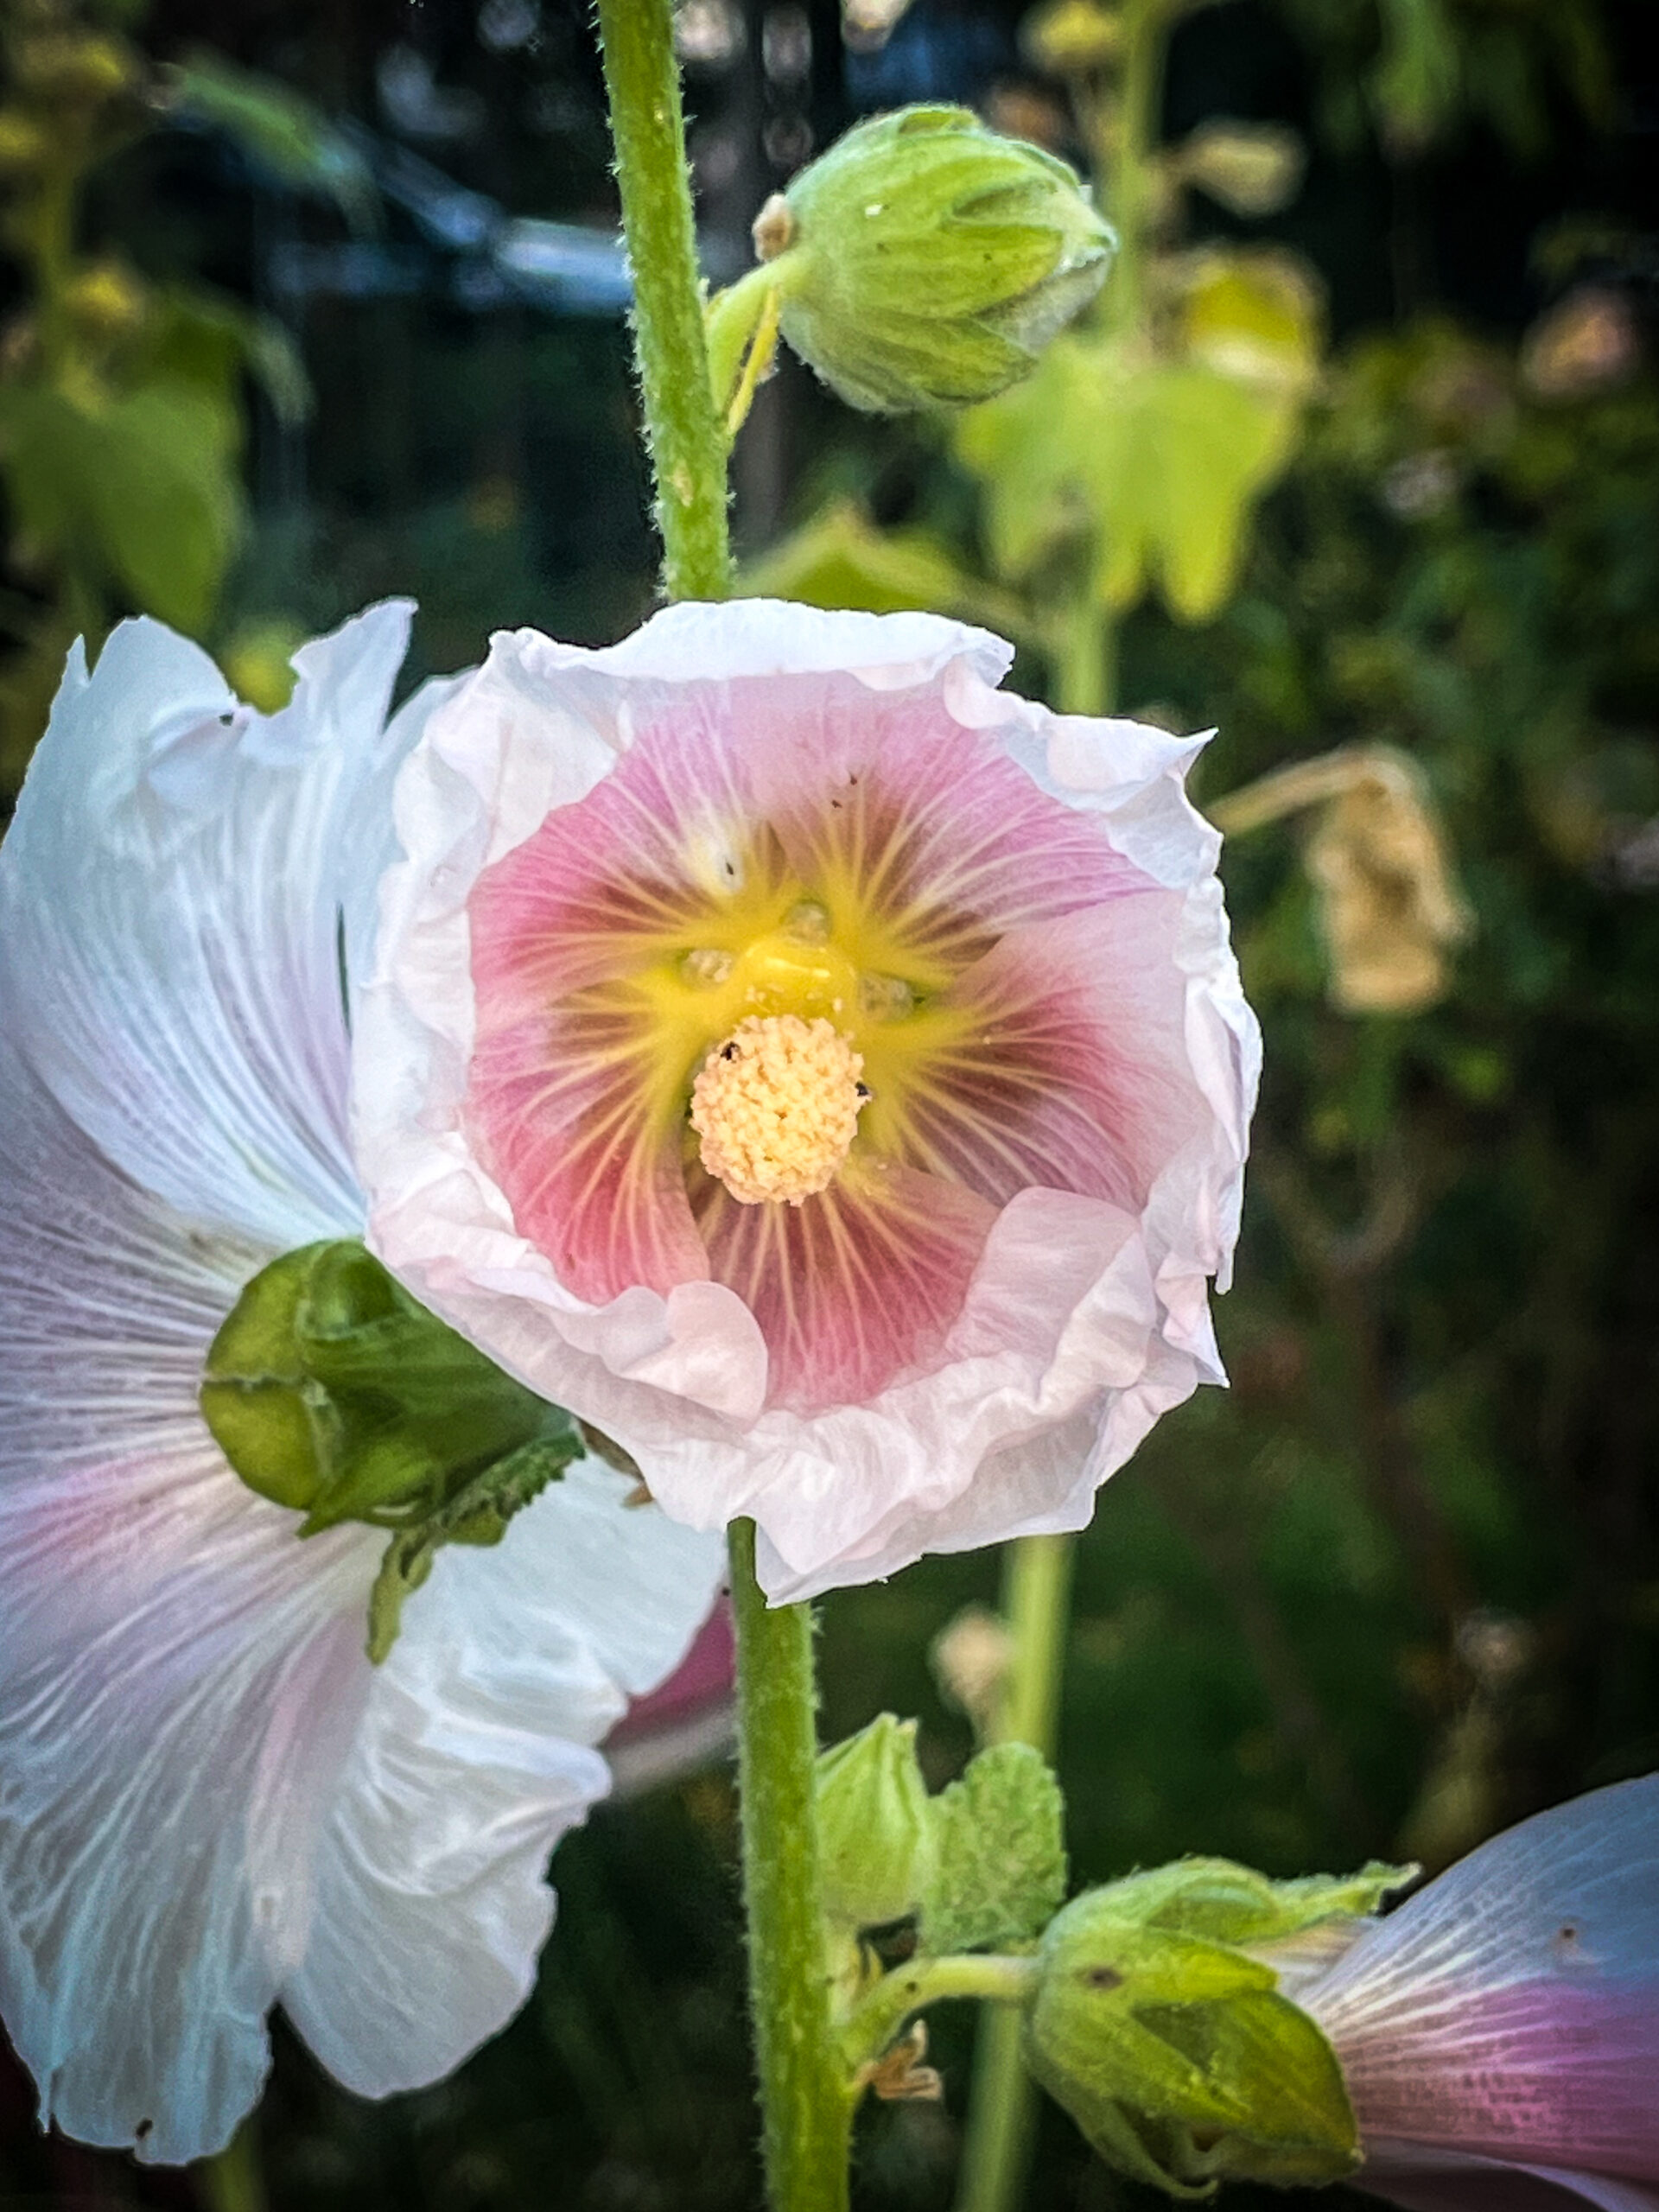
Find more of my photos on Instagram | PixelFed More from my Instagram Feed Read more on this topic: Epiphyllum Bloom In The Garden [Photography] Flowering Now: Hollyhocks Continue Reading
Decorate Your Home With Prints And Products Of This Photo Find more of my photos on Instagram | PixelFed More from my Instagram Feed Read more on this topic: Continue Reading

Purchase Prints and More! Enhance your garden with some beautiful aeoniums! Find more of my photos on Instagram | PixelFed More from my Instagram Feed Read more on this topic: Continue Reading

Find more of my photos on Instagram | PixelFed More from my Instagram Feed Read more on this topic: Matilija Poppy Along The LA River in Frogtown [Photography] Epiphyllum Bloom Continue Reading